
Background
Part of my first degree concerned composites manufacture, and I worked in this field for a while before my science career. I still get stuck into the occasional composite materials project, so a couple of years ago I was approached by Glencoe Mountain Rescue with an interesting request. Their fleet of stretchers was originally designed by Hamish MacInnes to cope with the demanding mountain terrain, but with production halted indefinitely, an alternative solution was sought.
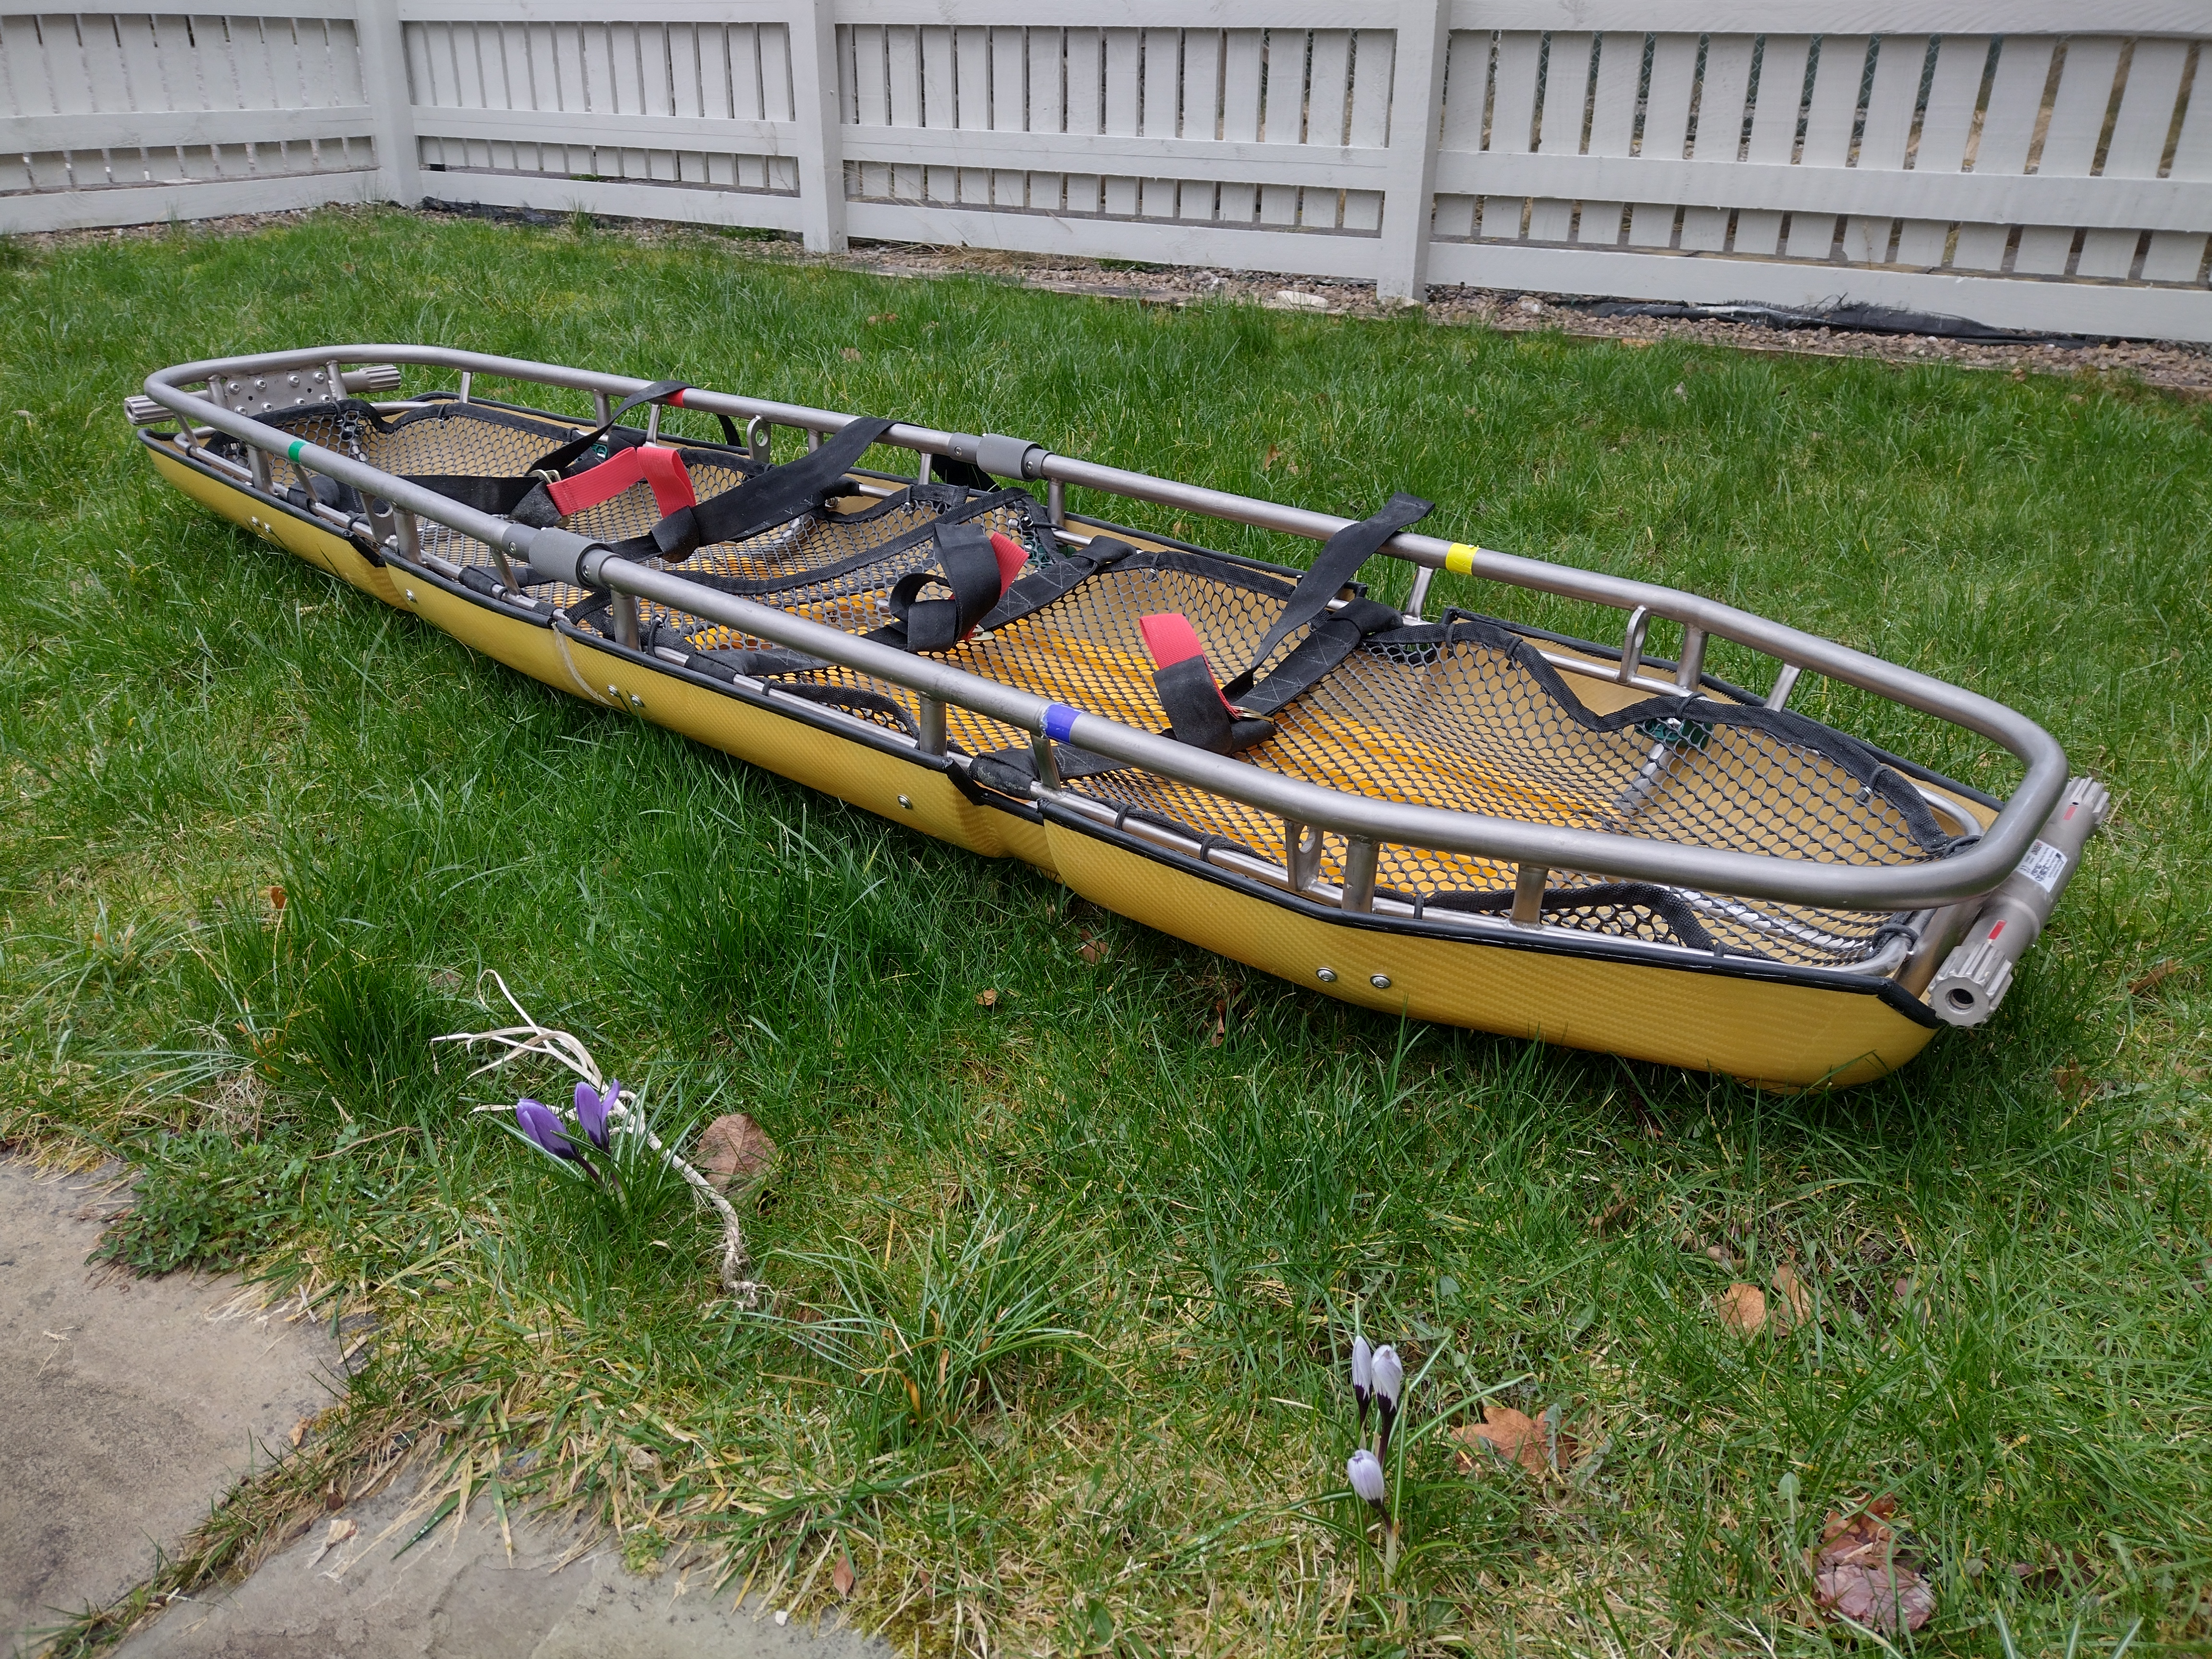
Many UK teams use titanium basket stretchers such as this linked example, but they are easily damaged by some of the more technical rescues, for example long cliff lowers, undertaken by the Glencoe team.
The challenge was therefore to build a strong, light skid tray which could be attached to an off-the-shelf stretcher to protect it from the rigours of rescues in rocky terrain. In particular, I aimed not only to build a working example for testing, but also to make a mould so that multiple stretchers could be similarly retrofitted with skid trays in the future. The stretcher is carried up the hill in two halves and is assembled for use, so the tray needed to be supplied in two closely fitting halves also.
Preparing the male ‘plug’ for moulding
The project was commenced by a GMR team member before other responsibilities got in the way, so the basic dimensions of the wooden ‘plug’, from which the mould would be formed, were already established. This saved time but it required a lot of modification to make it ready for moulding. The fibreglass mould will bond irrevocably to the plug if there is any surface roughness, porosity, or any mechanical locks preventing a clean release. The fight to separate a stuck mould from the plug usually damages or destroys both components.
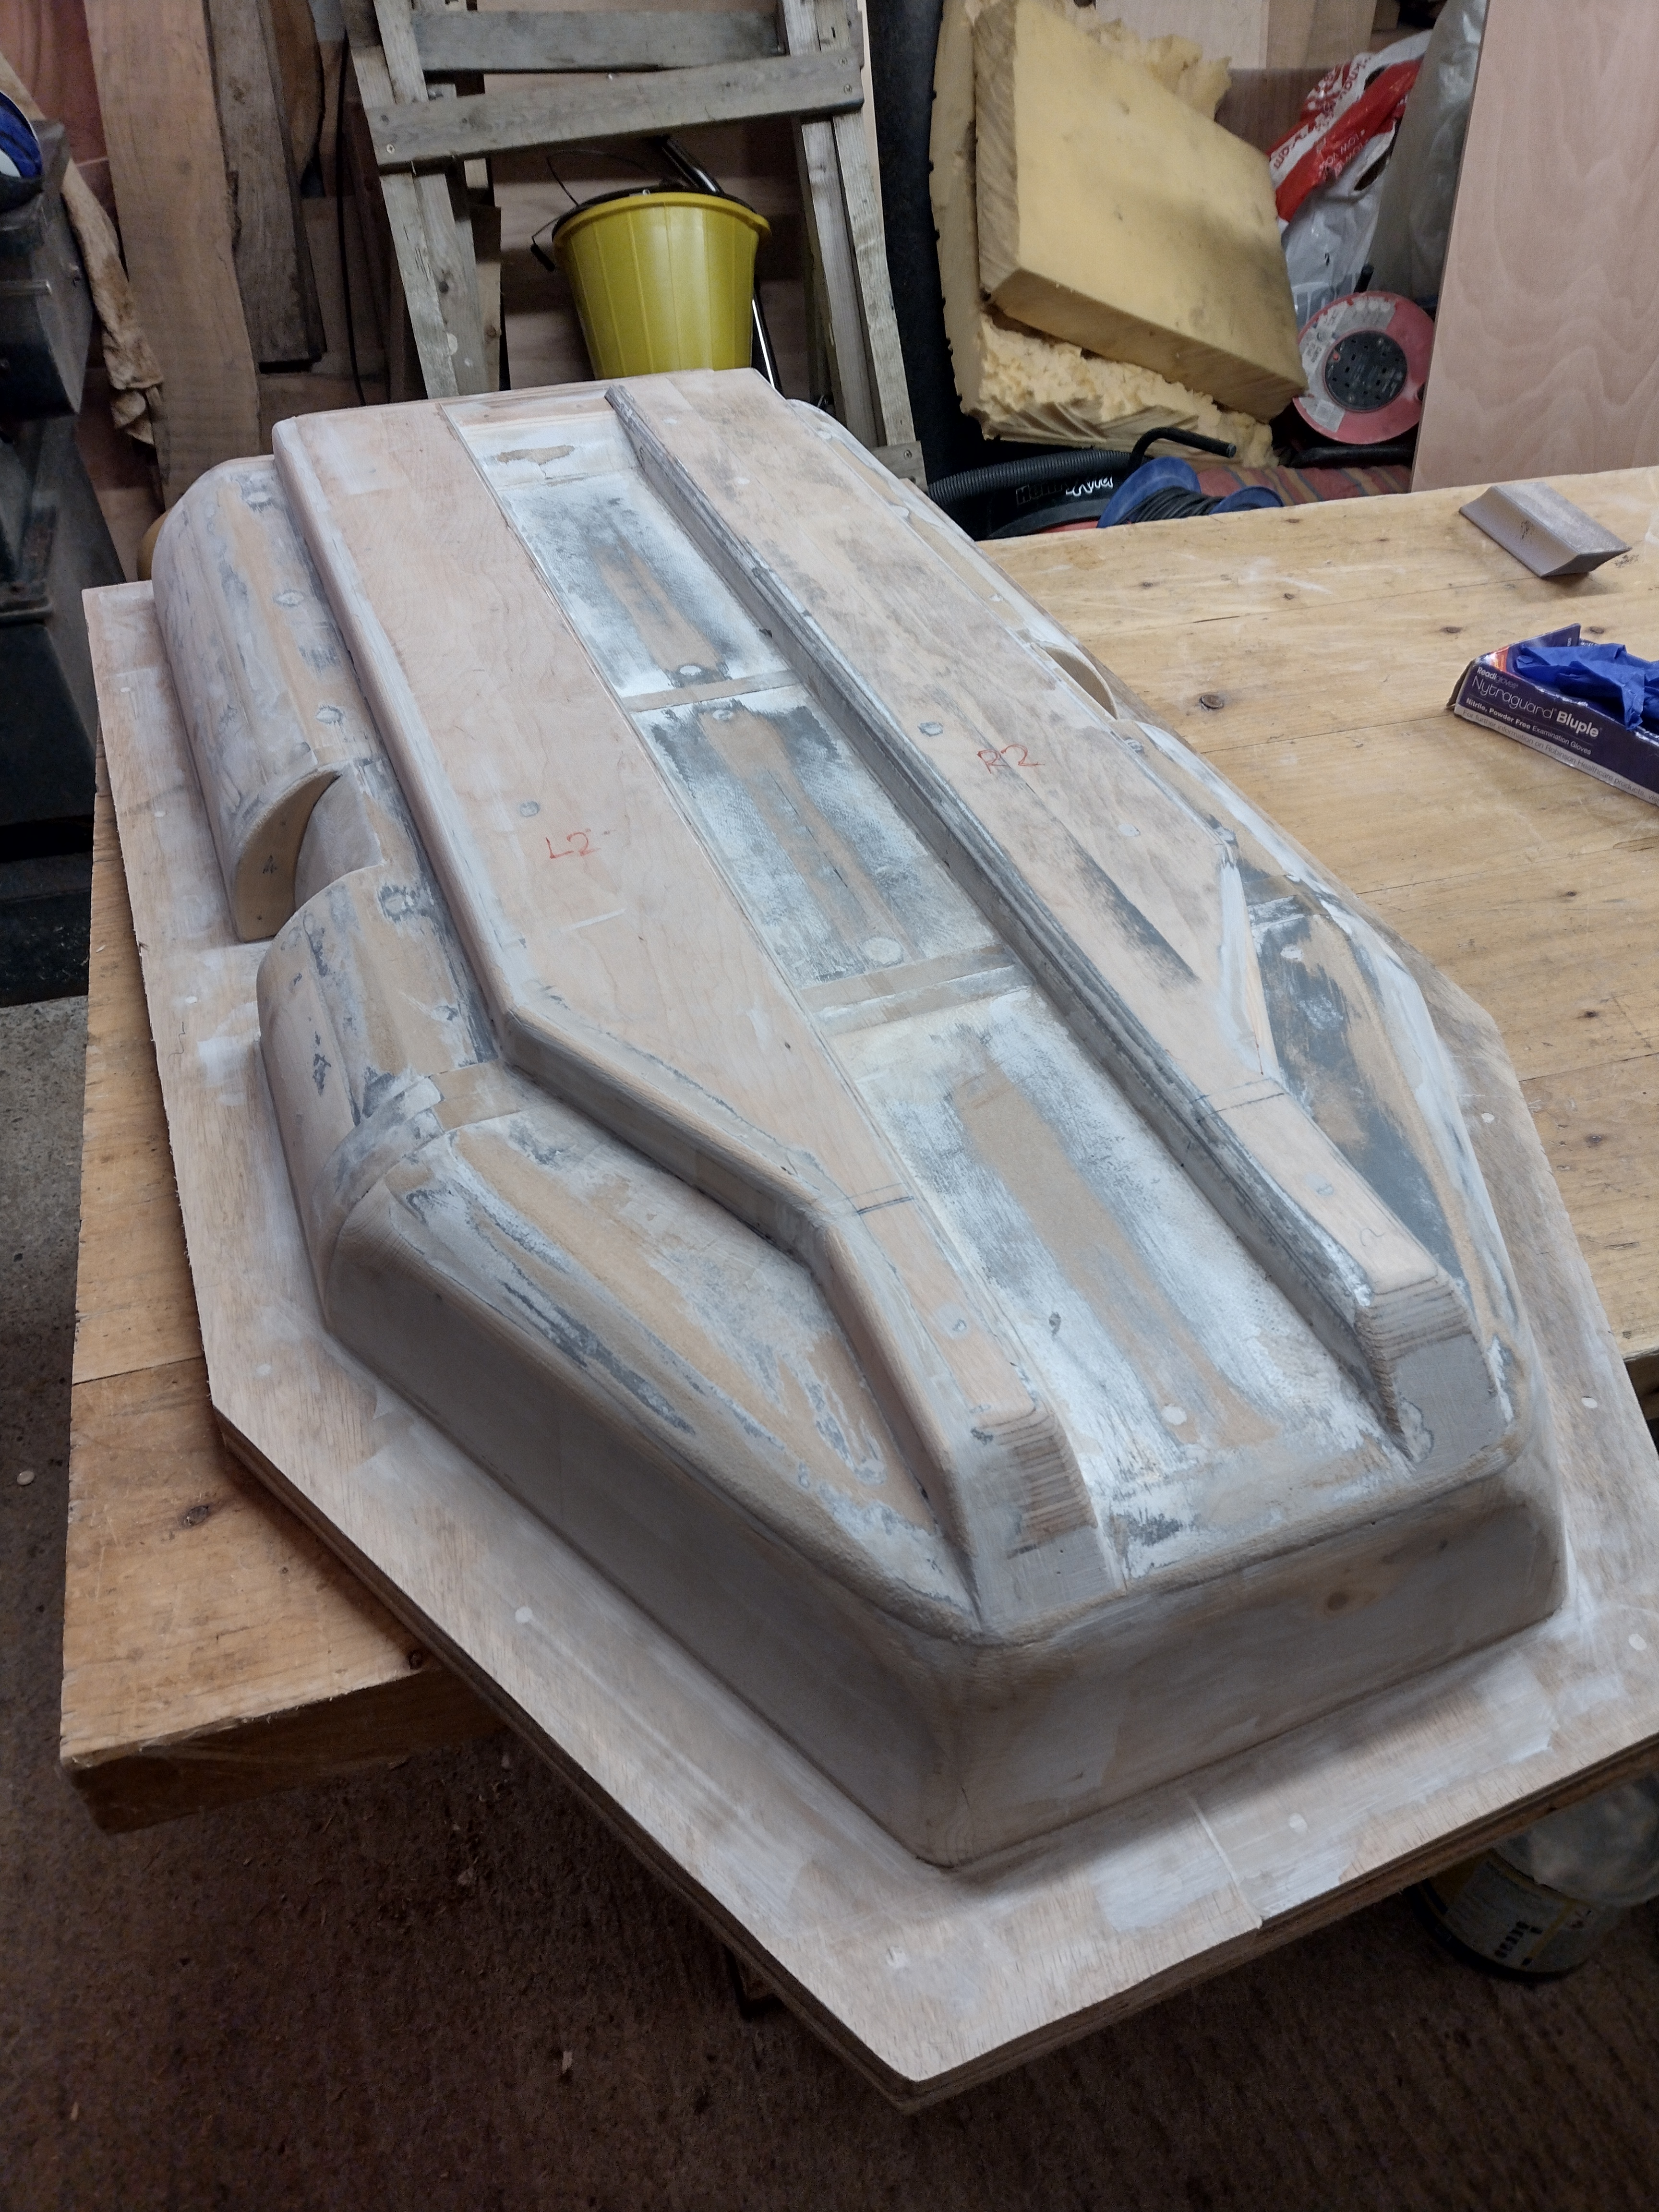
So began the long process of meticulously preparing the plug: elliminating imperfections with interminable rounds of sanding, filling and polishing until I could literally see my face in it.

Building a glass fibre female mould
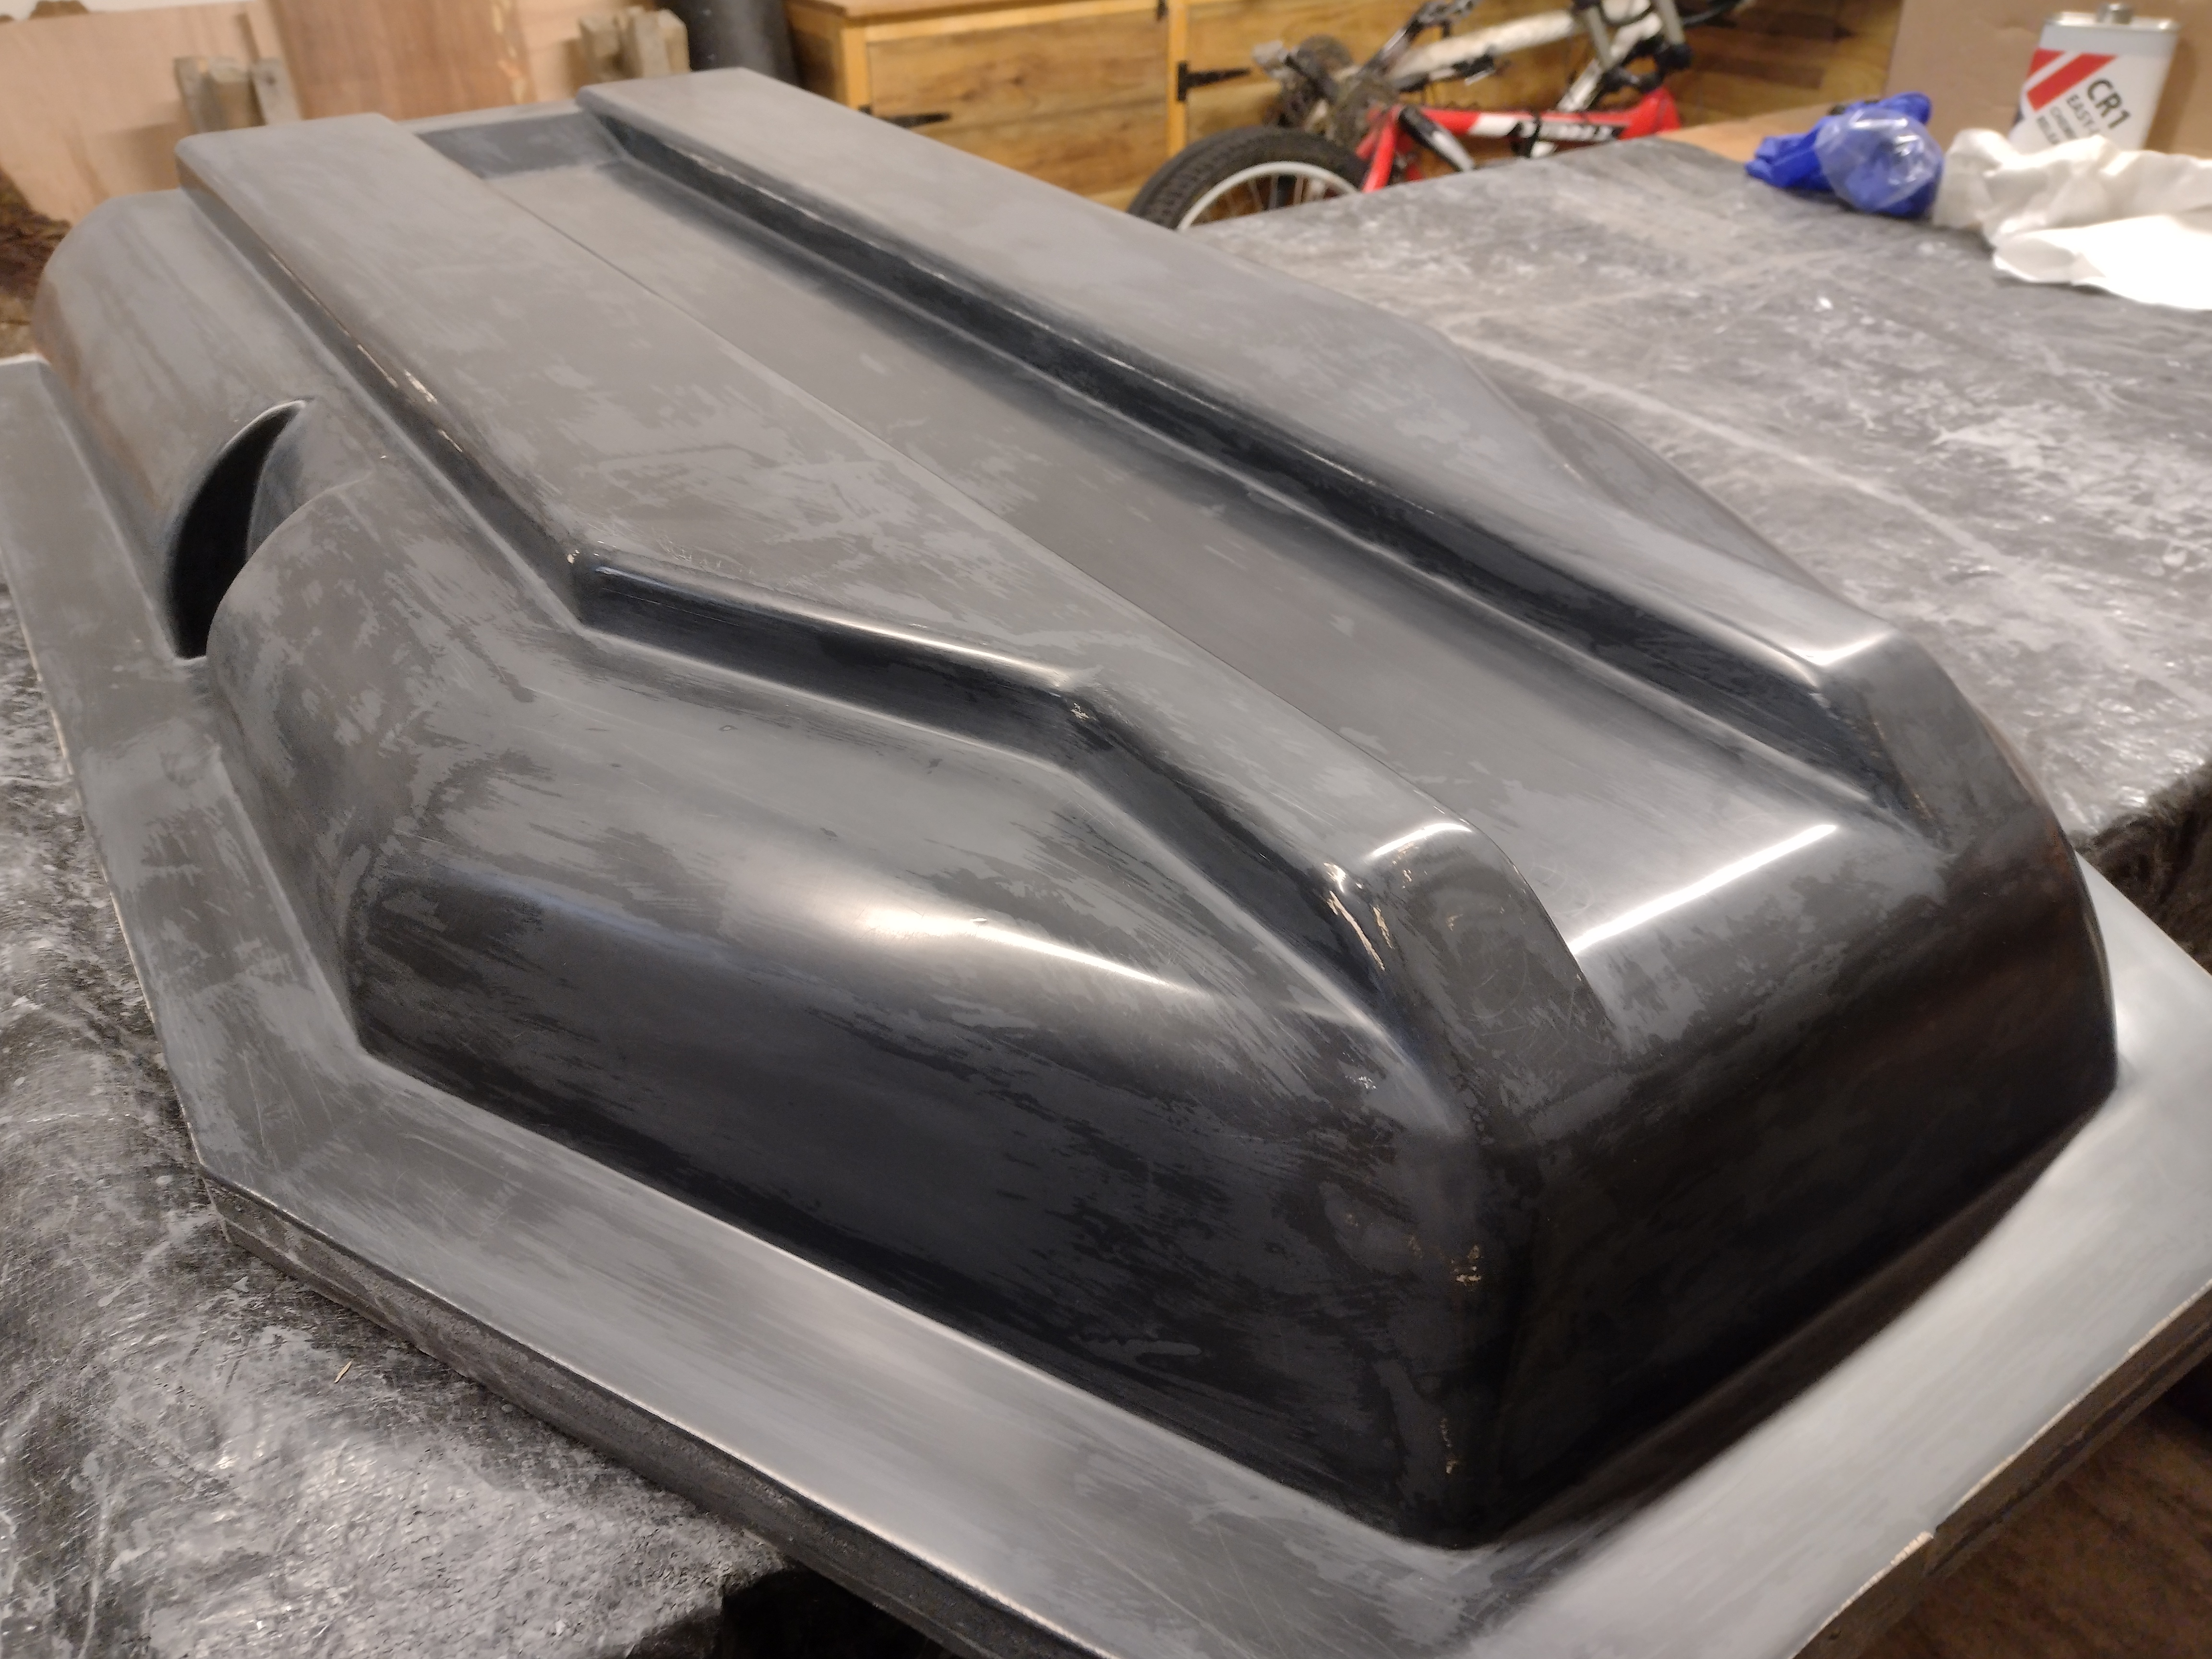
The mould, if built correctly, should allow us to make almost unlimited copies of the stretcher tray. It needs to be robust enough to survive long periods in storage but be ready to produce new parts after little more than a quick polish. I opted to use Easy Composites’ moulding system, and I’m glad I did, as it made the moulding process relatively quick and painless. The black gelcoat is first applied to the prepared plug, followed by a layer of fine glass fibre to support it. Finally, several thick layers of glass fibre are applied to give the mould its structural strength, and prevent it bending or warping. Each of these stages is fraught with potential pitfalls, any of which could damage the plug and set me back months. In fact, this project reminded me that the whole discipline of composites manufacture is a near-constant stream of potential disasters, narrowly averted through diligent background reading, experience, intuition or luck.
Further considerations: the working area had to be at a temperature of 18-25 C, tricky to achieve in a Scottish shed in November. The smell of styrene from the polyester resin is so strong that it lingers in hair and clothes for days, even after numerous washes. Every chemical component is in some way bad for you, which is unfortunate as you end up plastered in the stuff despite your best efforts at PPE. Once mixed, the resin gives you a working time of about 15 minutes before it starts to cure, which is unfortunate if you’ve embarked on a 40 minute project. If there’s more than a little resin left in the pot it will exotherm violently, smoking or even igniting to let you know you’ve left it too long!


Building a Kevlar tray for field testing
The only way to find out whether the moulded shape would be suitable for ‘real world’ conditions is to make a part and see how it performs in typical rescue scenarios. I chose to make the part from Kevlar which is a high-end composite reinforcement fabric, known mainly for its incredible toughness. It is also stronger and lighter than most other common reinforcements with the exception of carbon fibre, but carbon is very brittle so is not suitable for rough handling.

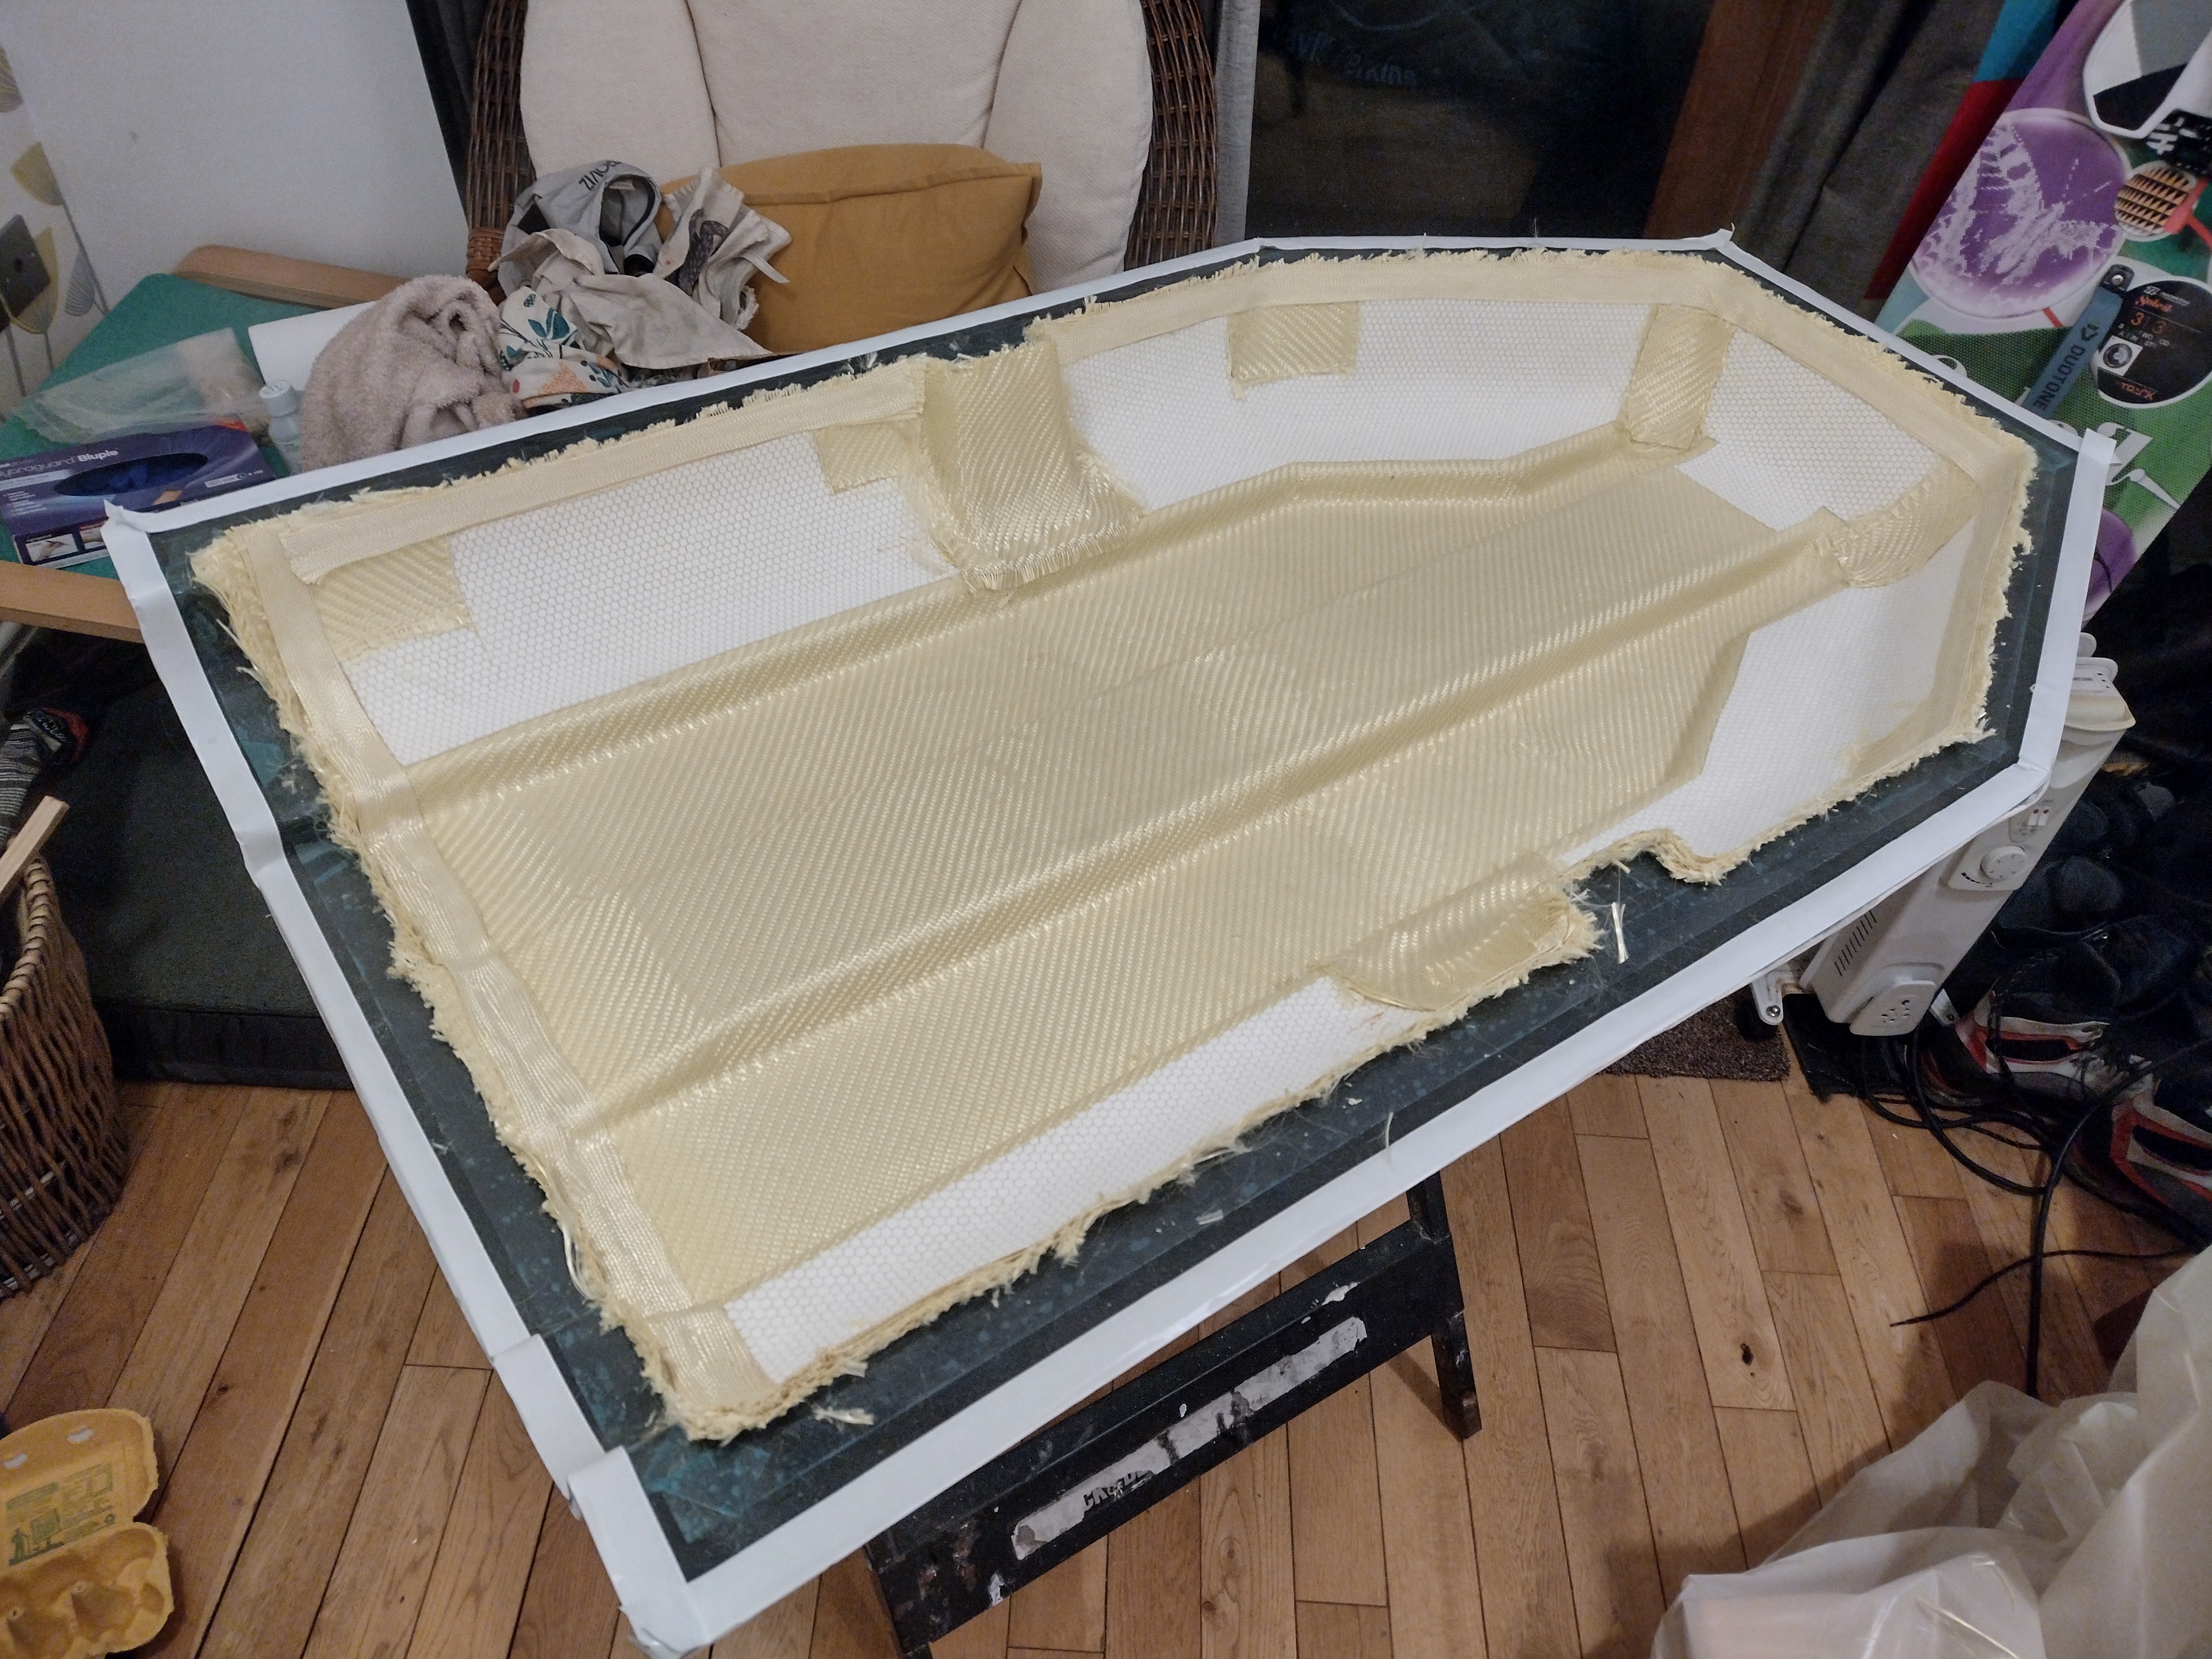

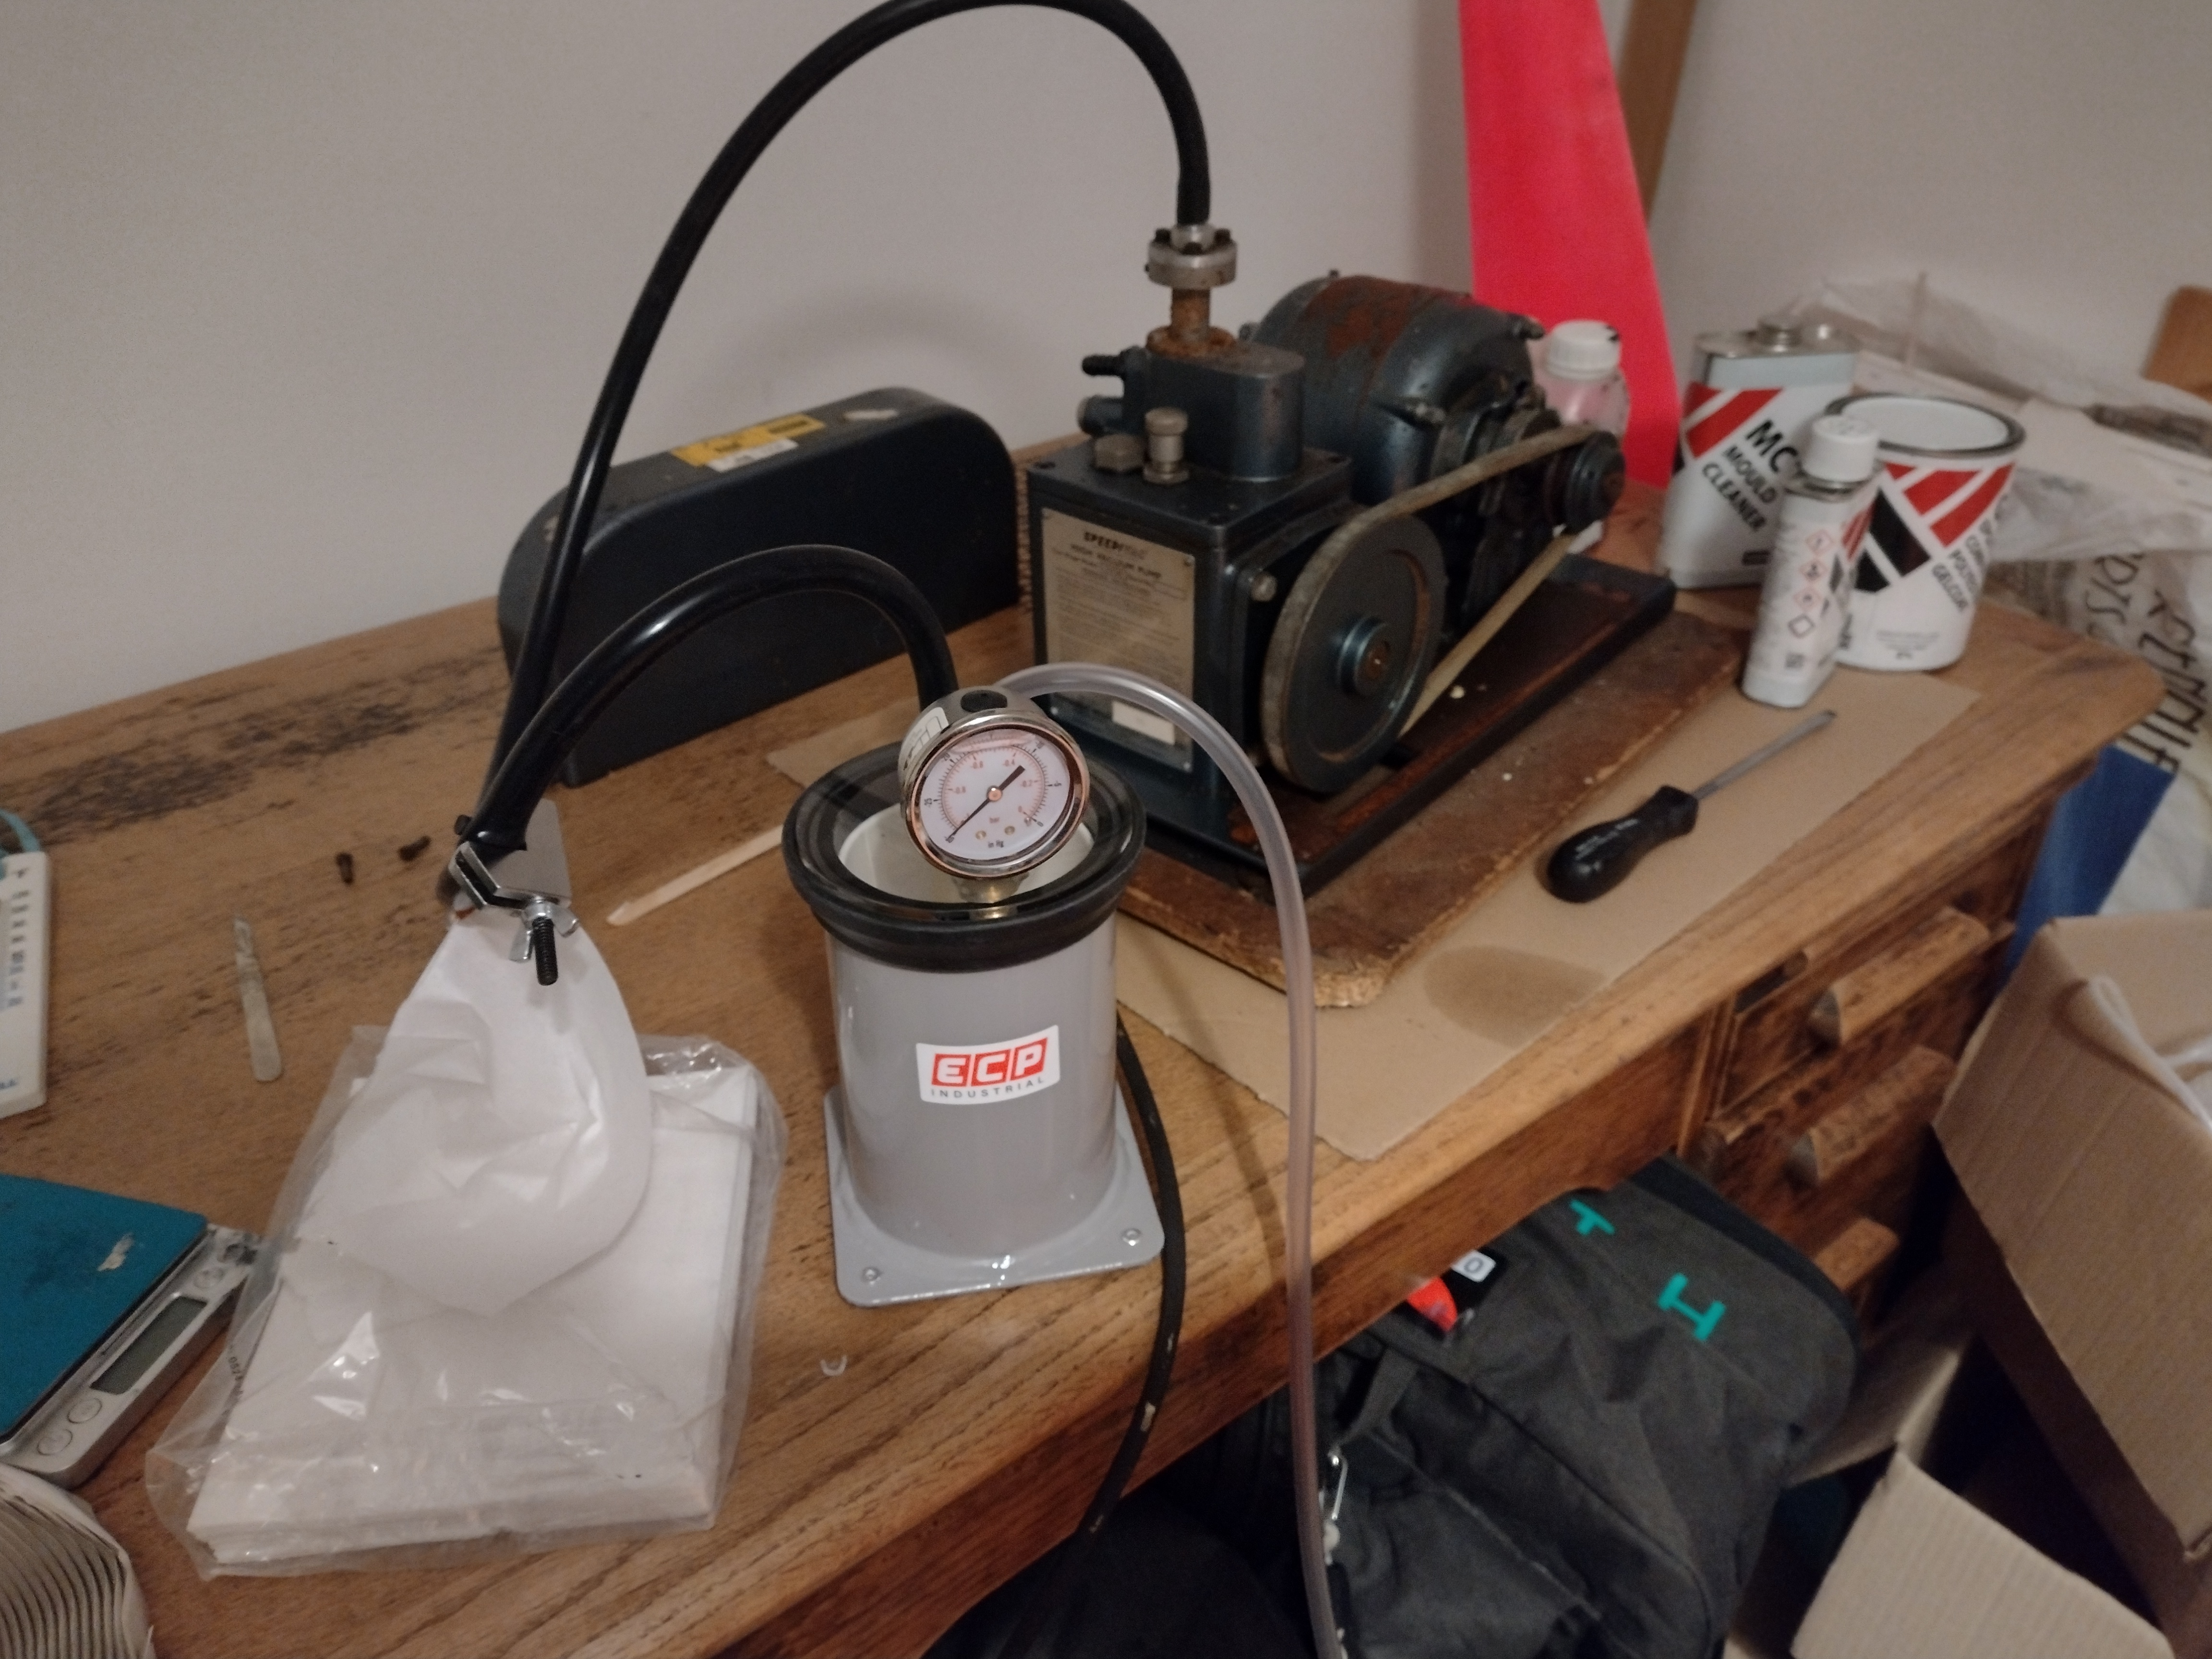
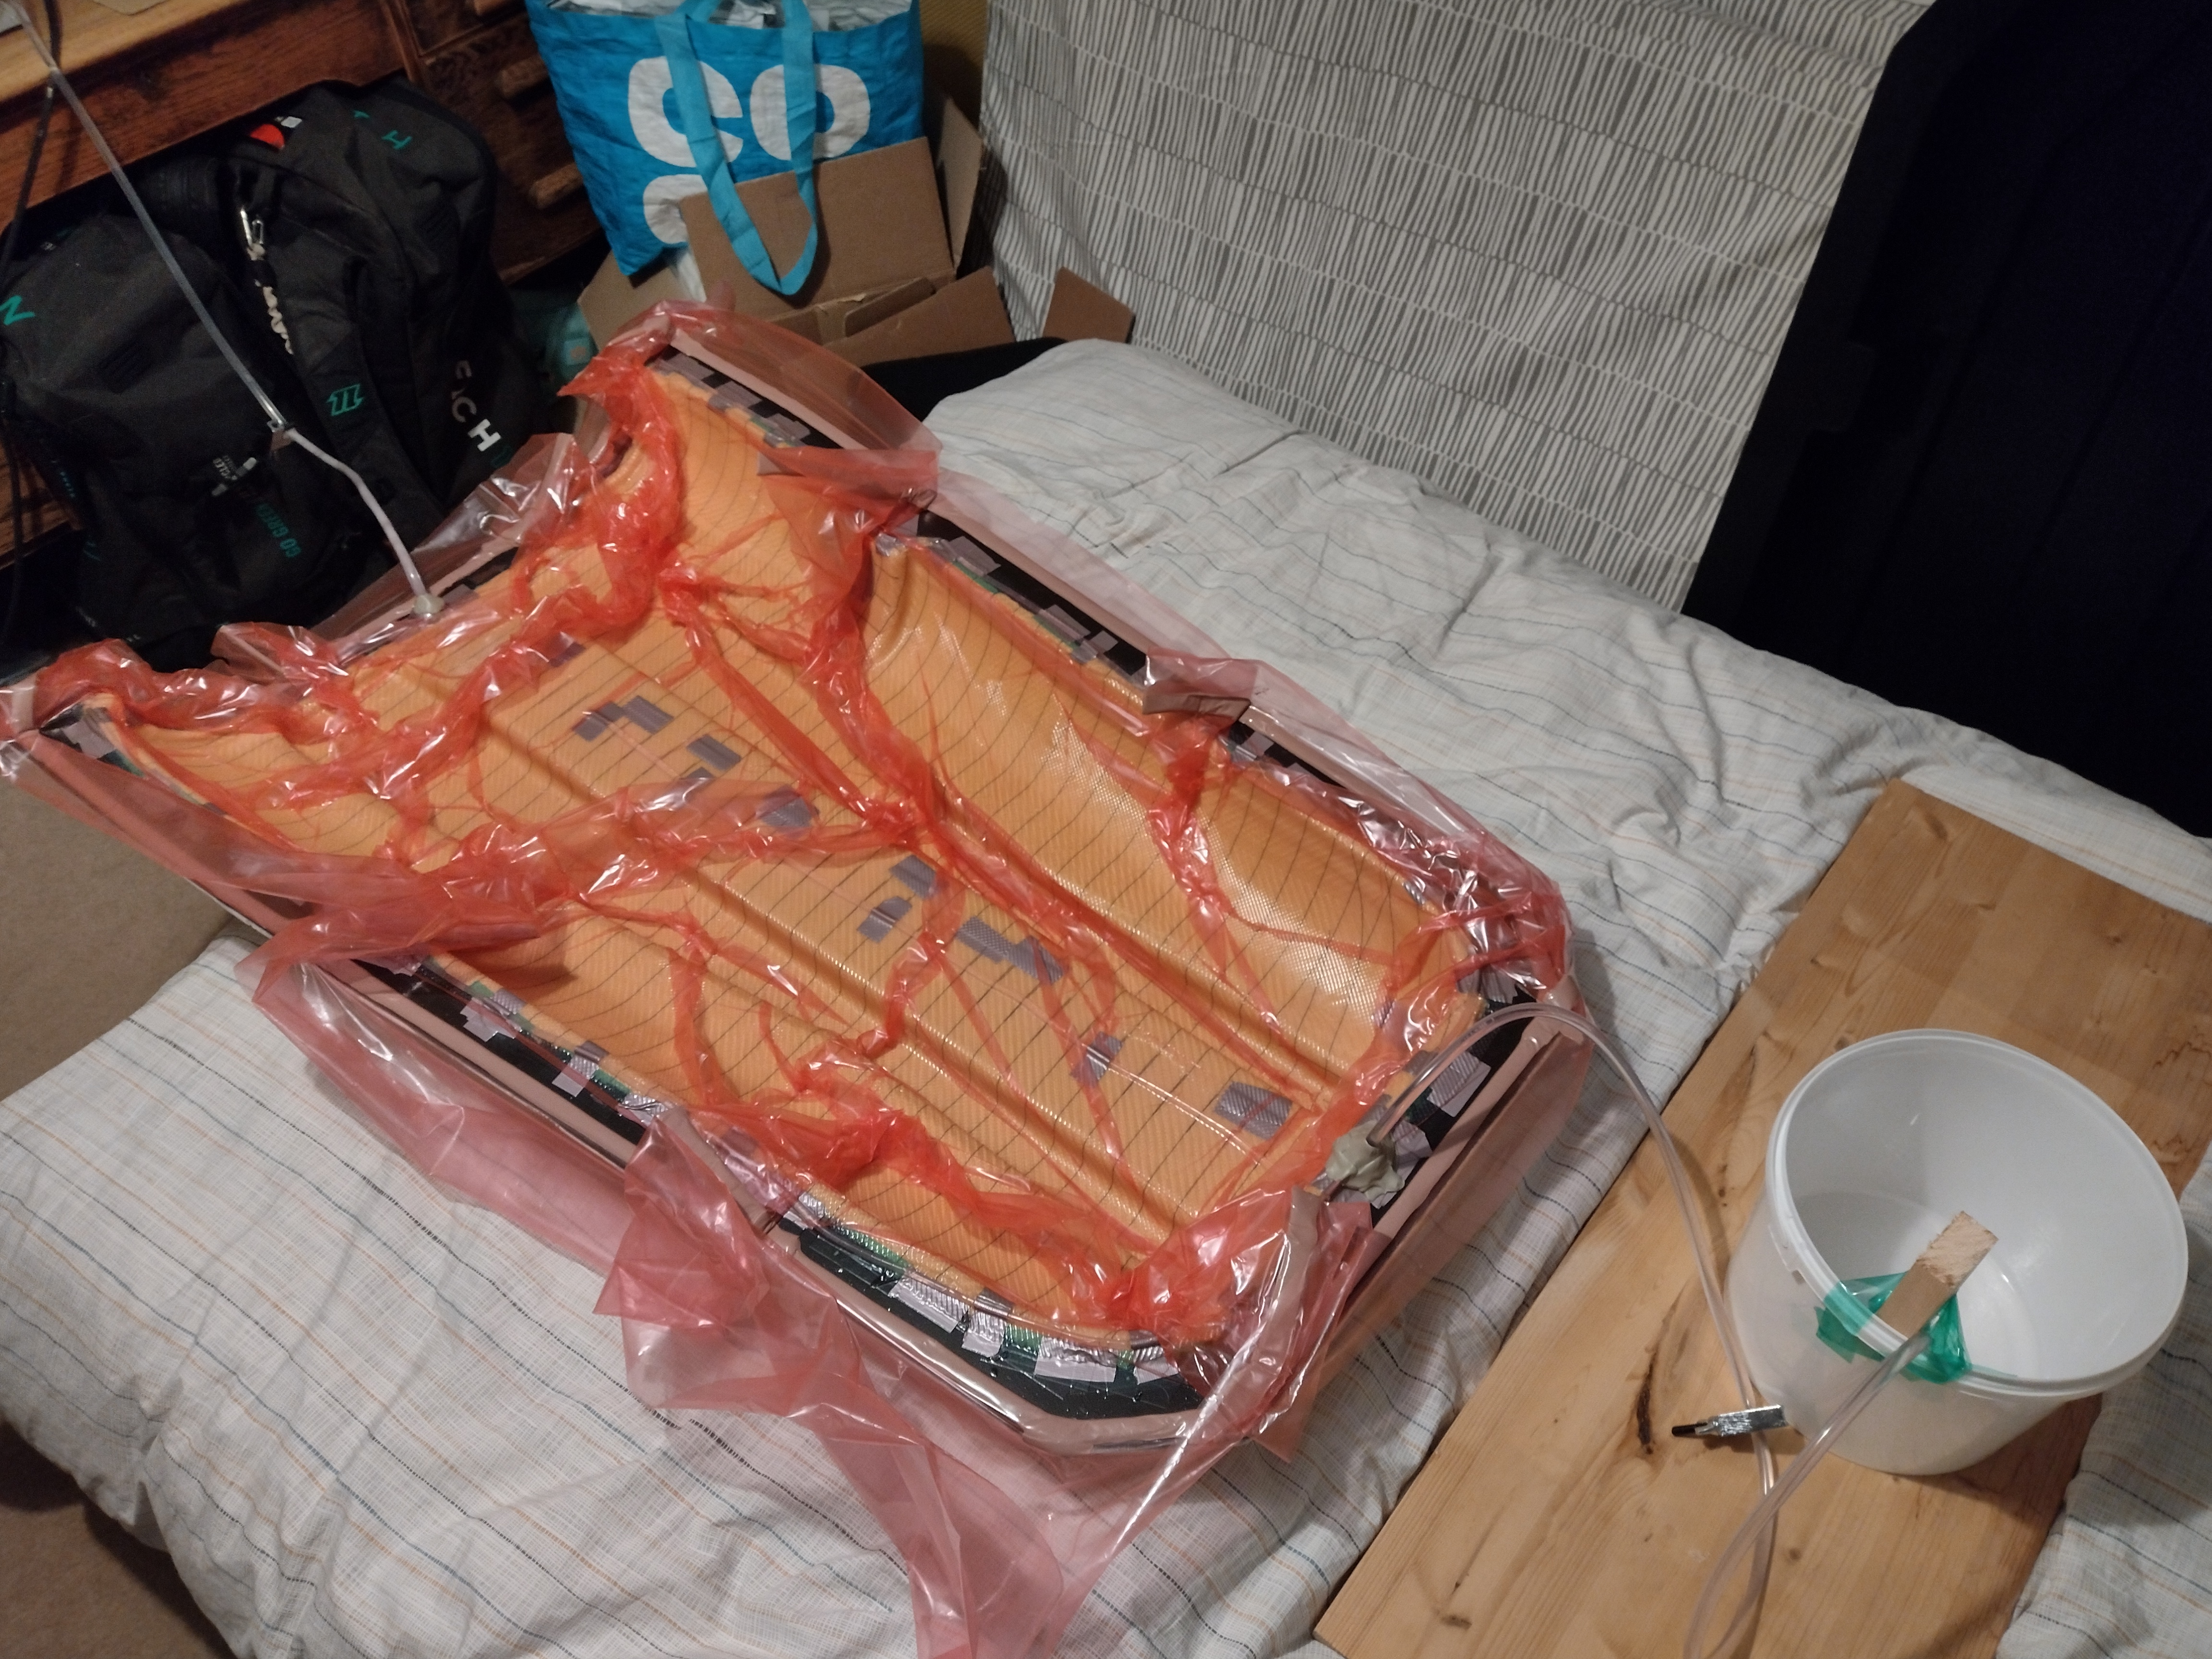
I chose to use a technique known as resin infusion. This involves laying the dry fibre layers into the mould, aided by light use of spray glue. The whole structure is put in a sealed bag and a vacuum drawn. Epoxy resin is then allowed to ‘infuse’ through the part, drawn through the dry fabric by the vacuum. If all goes to plan you are left with the perfect composite structure: just the right proportion of resin with no air bubbles. I designed the fabric layup to prioritise stiffness at the lowest weight. Extra layers were added in high impact and wear areas.
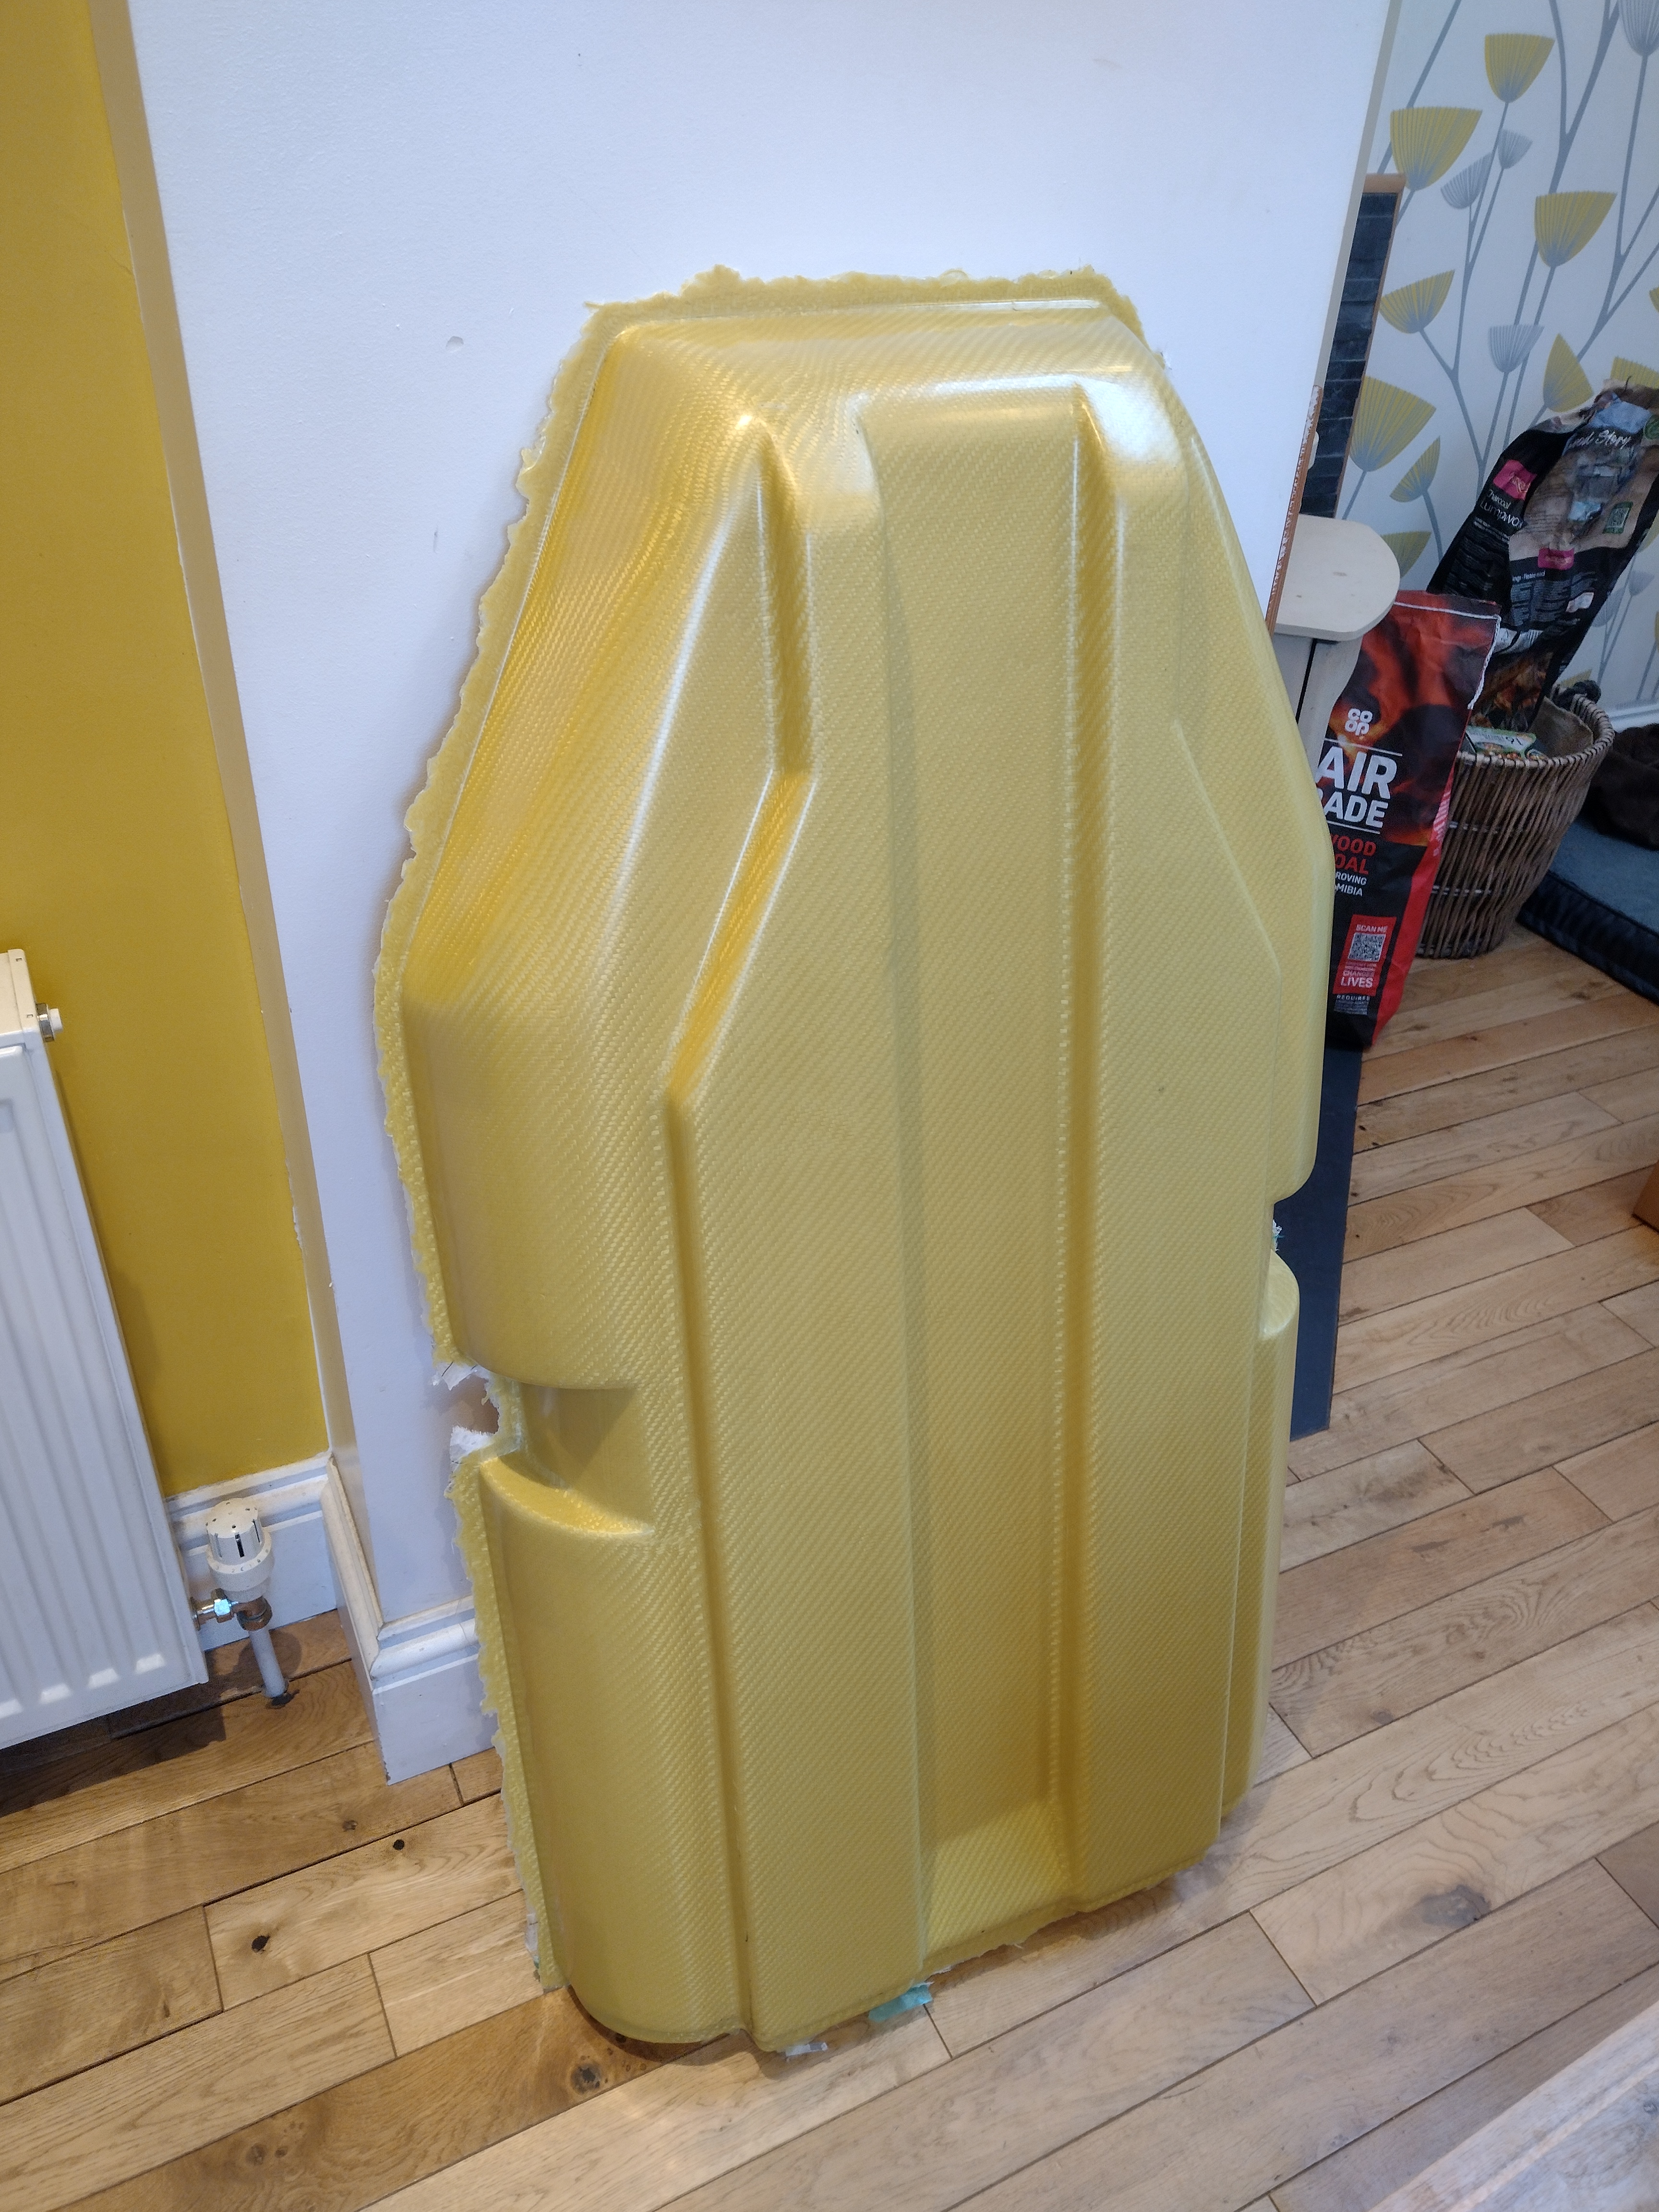
There are literally books written on the resin infusion technique, and I’ve had some experience of it previously, but let’s just say that it takes no prisoners. Even the tiniest leak in the seal of the vacuum, a poor decision in the flow channels to allow resin to spread, a pump failure, a forced error under time pressure… all spell disaster! By the skin of my teeth I got away with it and produced the two Kevlar halves. Both released from the mould with minimum fuss, leaving great-looking parts.


Finishing up
The only thing remaining was to trim the Kevlar tray parts down to size, tidy them up and fit them to the stretcher. Trimming a material that’s designed primarily for resistance to abrasion is a substantial task in itself, as my various blunted grinder blades can attest. However, it bodes well for its longevity when it’s being dragged over rocks in the field.
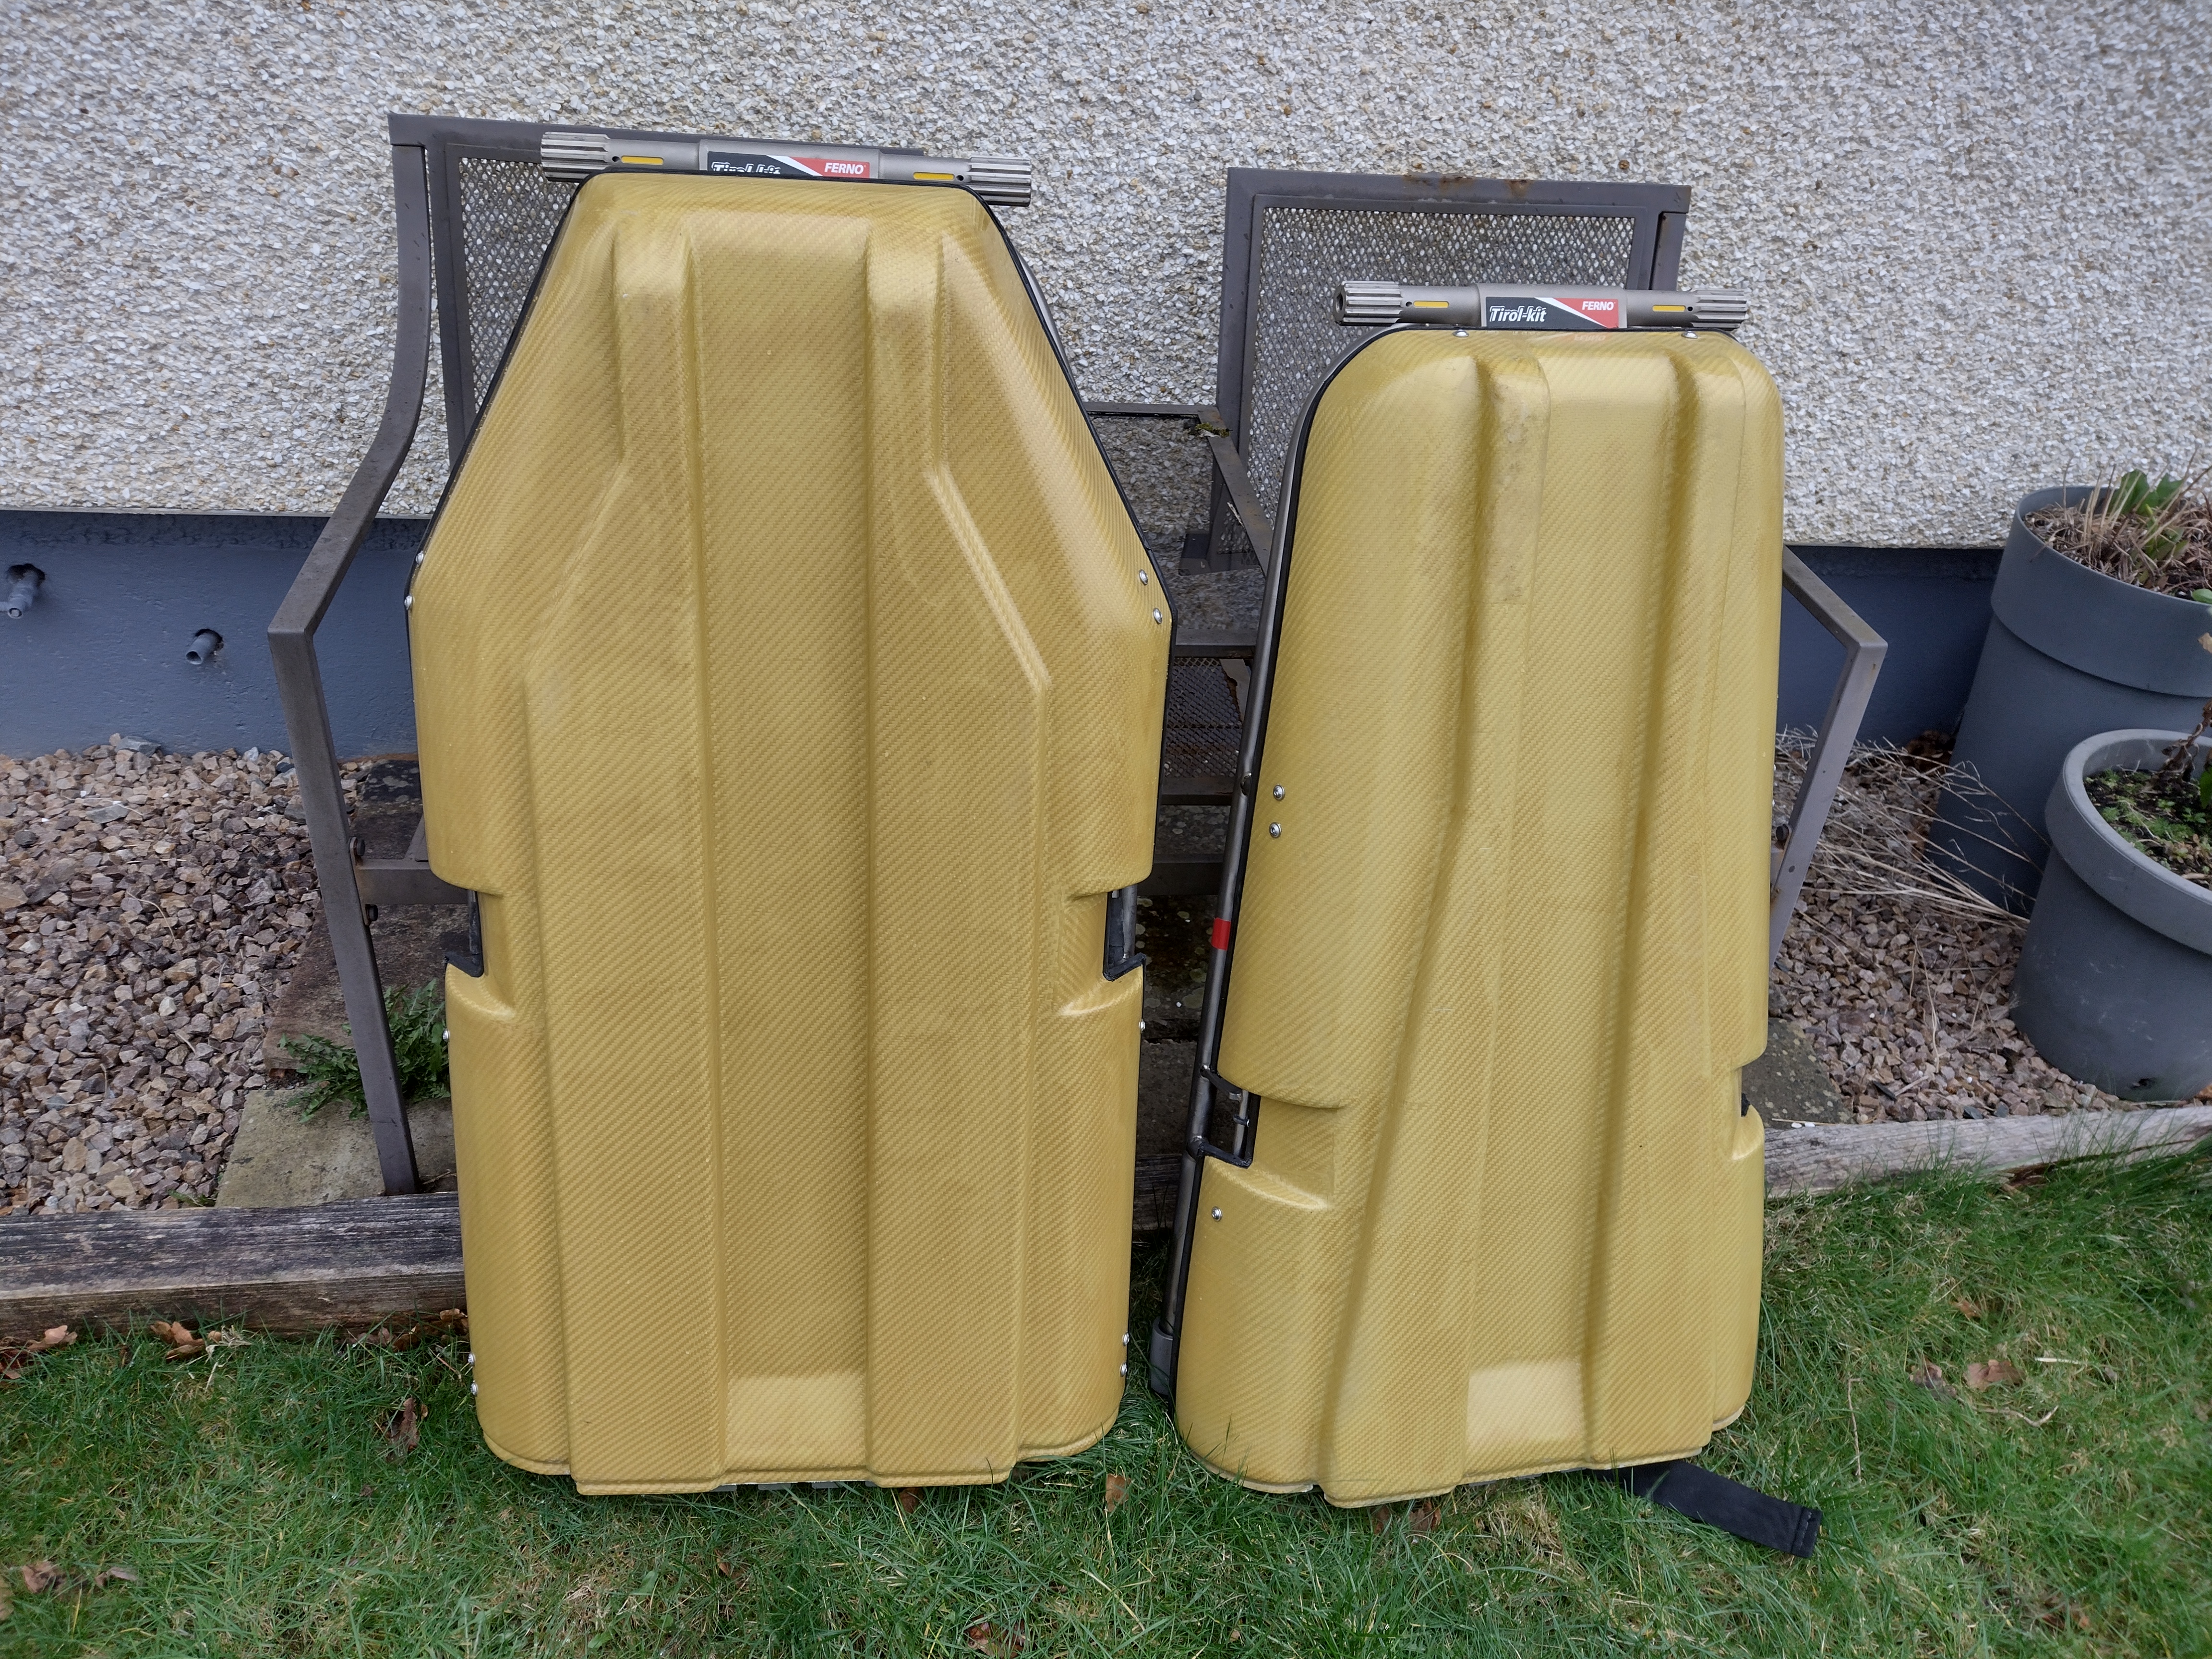
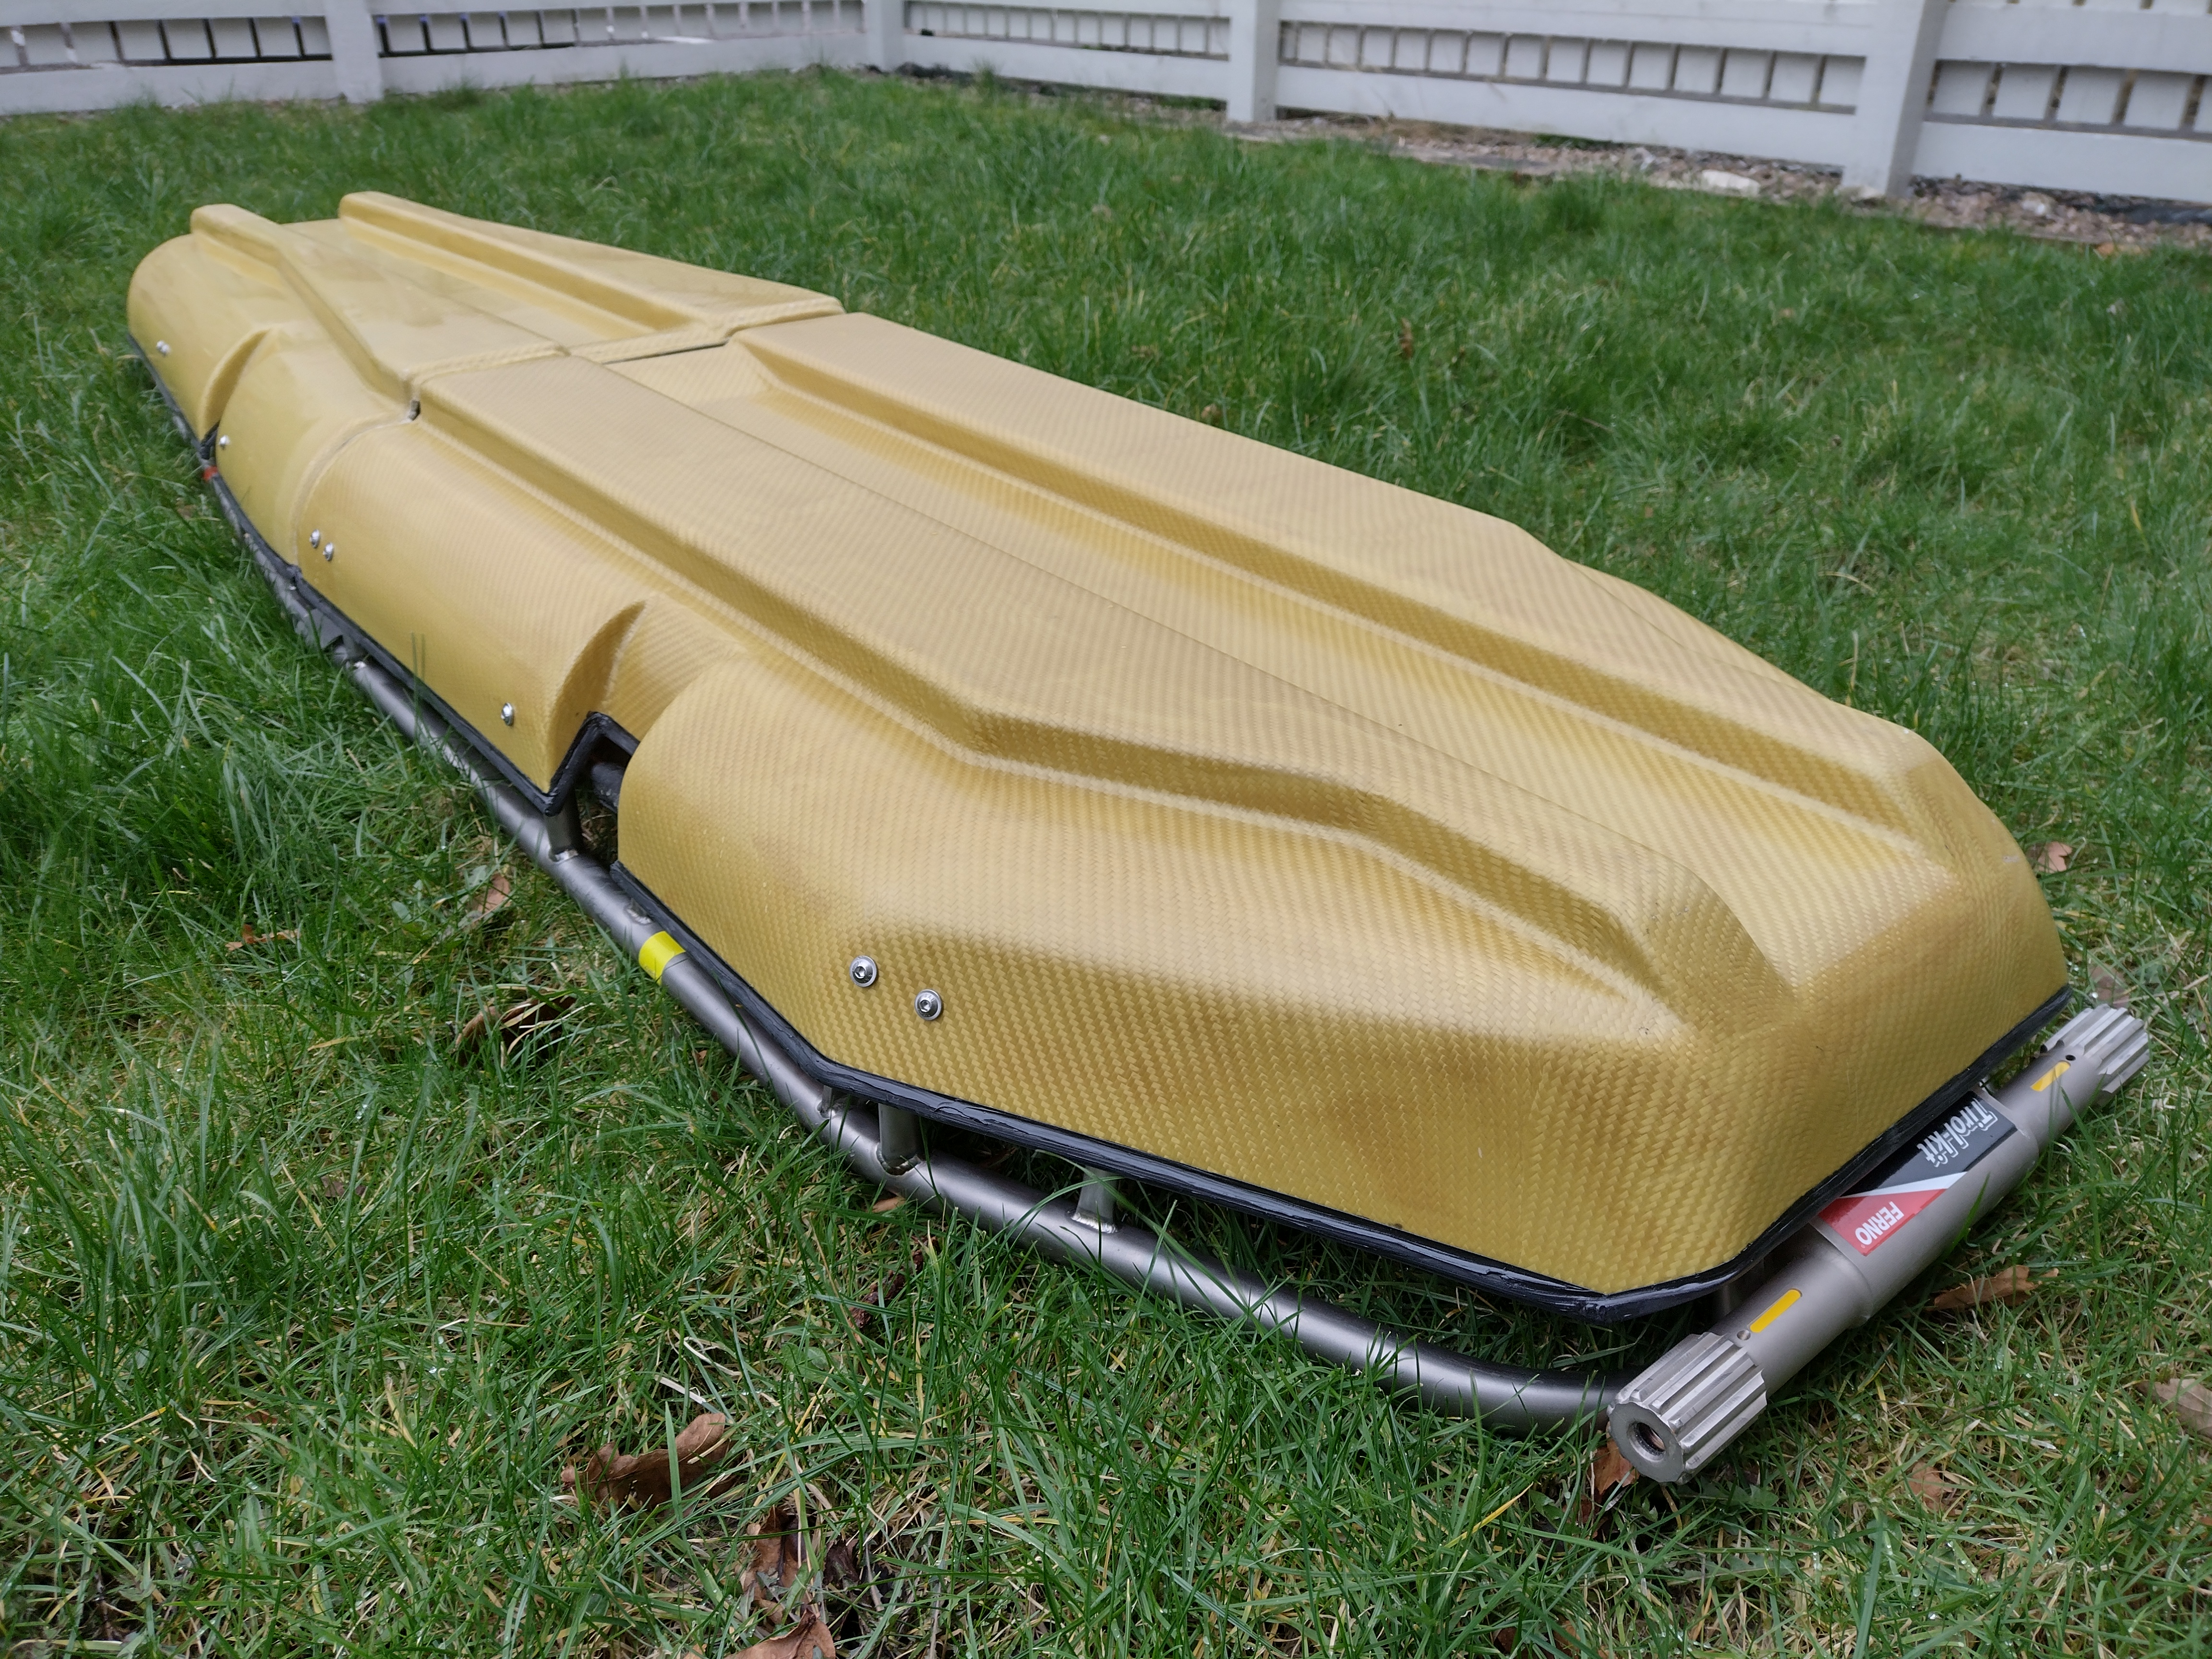

I’ve now handed the completed stretcher back to Glencoe Mountain Rescue, and hopefully it will pave the way for a replacement for the time-served MacInnes design.
